Getting the Heat Exactly Where You Need It
If you’ve ever tried using a standard, off-the-shelf infrared lamp for R&D, you know the frustration. They’re fine for basic tasks, but they just blast heat everywhere. When you’re working on new glass materials, “uniform” isn’t always what you want. You need to control exactly where that energy hits your workpiece.
Designing the “Hot Zones”
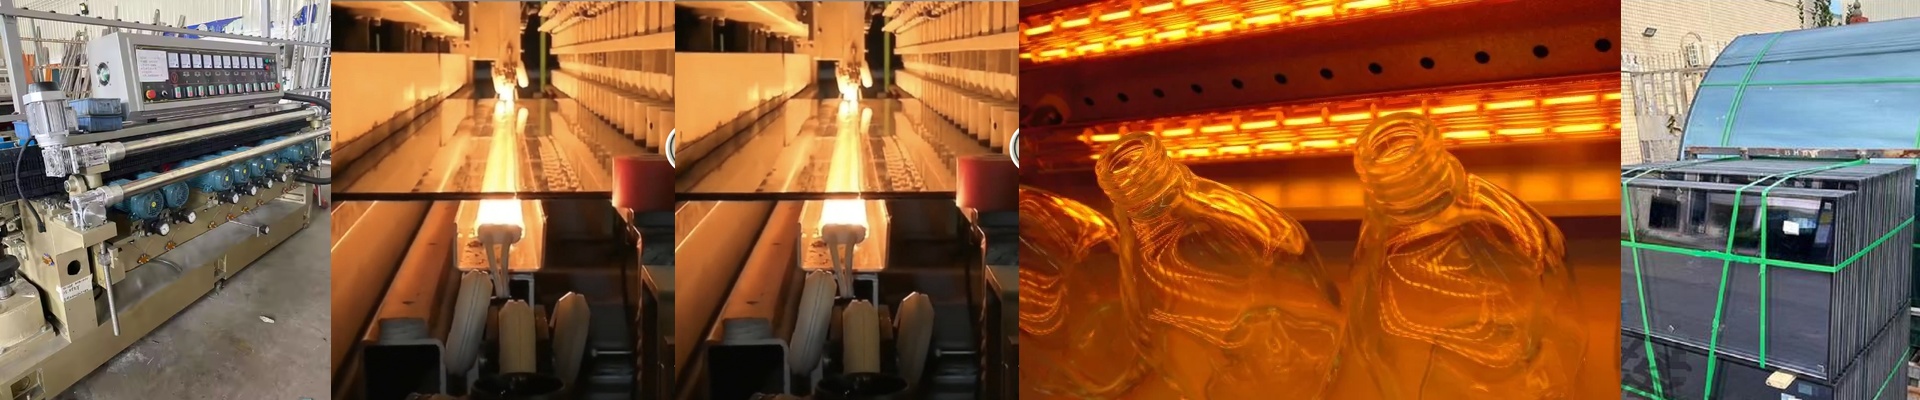
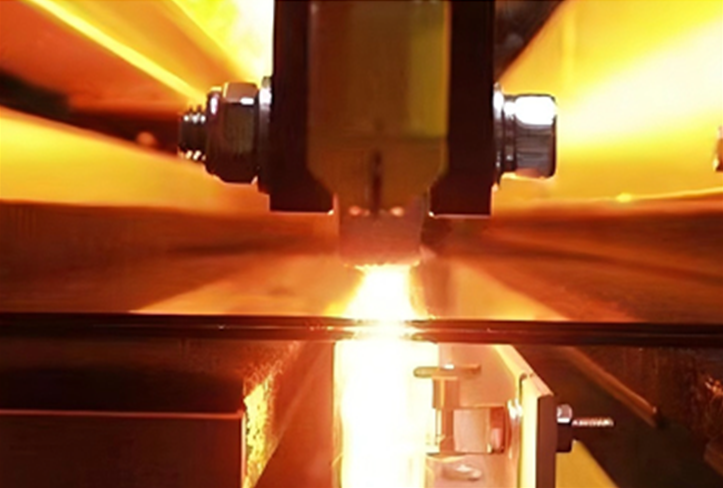
We don’t just look at wattage; we look at how the power is actually spread across the quartz tube. By tweaking the wire gauge and how the filament is wound, we can build in specific hot spots or smooth gradients. It’s a huge advantage for simulating thermal shock or running controlled annealing cycles. For example, if we put more power in the center and dial it back at the edges, you stop those annoying edge-effect warps from ruining your samples. Just a heads-up: if you want a ton of power in a short tube, the end caps are going to get scorching. Make sure your mounting brackets can handle that kind of heat soak.
The Physics of Medium Wave
Medium wave is that sweet spot between surface absorption and penetration depth. To keep things consistent, we use high-purity quartz. But here’s the best part: we give you total freedom with the specs. You aren’t stuck with some standard 230V or 400V bracket just because it’s easier for the factory. We build the filament to match your specific voltage. This means you can ditch those bulky transformers that usually mess up your sensor readings with electrical noise.
The Real-World Trade-offs
Putting these into a test rig is easy, but there is a catch. If you push a custom, high-density lamp to its absolute limit, the filament won’t last as long. It’s just physics. If you’re planning to run your setup 24/7, I’d suggest over-specing the length a bit. Spreading the load keeps the filament from burning out too quickly, so you aren’t swapping lamps in the middle of a critical run.